How to Create a OS X El Capitan Boot Installer USB Flash Drive
Many Mac users like to make a bootable installer drive for installing OS X El Capitan, whether for performing a clean install, or for making it easier to install OS X 10.11 onto multiple Macs. We will walk through creating a bootable install flash drive from OS X El Capitan with the final public version.
Before getting started, know the requirements necessary to make a bootable OS X El Capitan installer drive are as follows:
- An 8GB or larger USB Flash Drive like these, this will be formatted and turn into the OS X El Capitan bootable installer
- The OS X El Capitan installer application must be on the Mac and in the /Applications/ folder, download OS X El Capitan here if you haven’t done so yet (yes. you can re-download it)
Presumably you have already made the USB flash drive into a Mac compatible format with Disk Utility, if not you can follow the directions here to format a drive for Mac OS X compatibility HFS+.
When you’re ready, plug the USB / flash drive into the Mac with the OS X El Capitan installer application on it.
1: Rename the USB Flash Drive to Become the OS X El Capitan Bootable Installer
The next thing you’ll want to do is rename the target volume that you wish to turn into a bootable installer drive, in this case an external USB flash drive. To avoid any confusion, we’re naming the USB drive to “ElCapInstaller” (without the quotations), though you can name it whatever you want as long as you adjust the command line syntax to match.
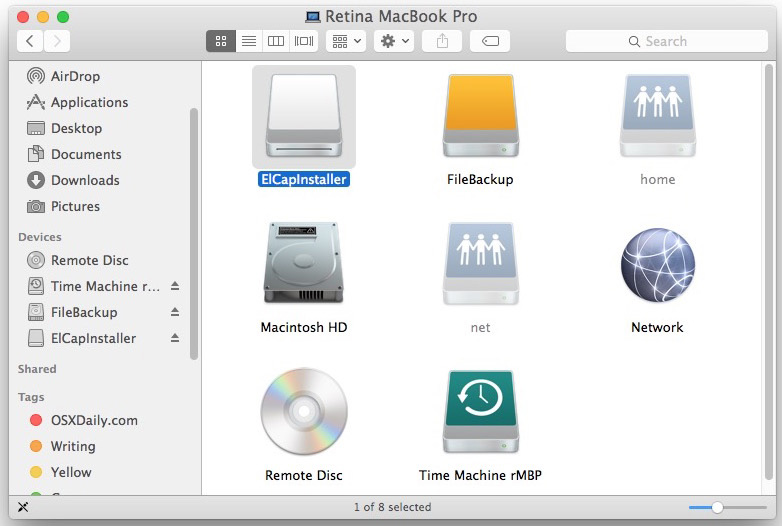
You can do this through the Terminal or the Finder as shown above.
2: Make the OS X El Capitan Bootable Installer Drive with a Terminal Command
Launch the Terminal application, found in /Applications/Utilities/ and enter the following command exactly (unless you changed the target volume name from ElCapInstaller to something else) onto a single line, the text will wrap because it is long, but it’s important to have proper syntax:
sudo /Applications/Install\ OS\ X\ El\ Capitan.app/Contents/Resources/createinstallmedia --volume /Volumes/ElCapInstaller --applicationpath /Applications/Install\ OS\ X\ El\ Capitan.app --nointeraction
Hit the Return key and enter the administrator password when requested.
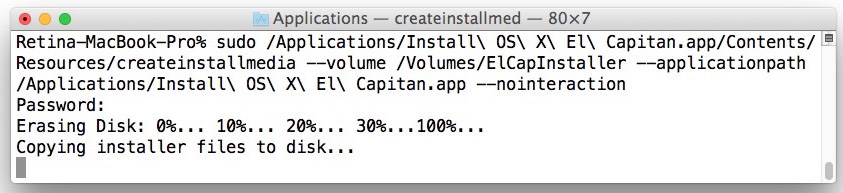
You’ll then see the following screen text in the Terminal:
“Erasing Disk: 0%… 10%… 20%… 30%…100%…
Copying installer files to disk…
Copy complete.
Making disk bootable…
Copying boot files…
Copy complete.
Done.”
The target USB disk or flash drive will be erased first and then copy the files to it so that it will become a bootable OS X El Capitan installer. This can take a while to complete, so wait for the “Done” message before continuing.
When you see “Done”, that’s it, your OS X El Capitan installer drive has been created, it’s bootable, and you can use it to update as many Macs as you want to with OS X 10.11.
To boot from the installer drive, hold down the Option key during Mac system start, and select it from the startup volume menu.
Otherwise, you can insert the installer USB disk / flash drive into any Mac and launch the installer directly from the drive.
Can you show me how to make an Install OS X El Capitan boot drive?
If you want to watch a video walkthrough of the entire process of making an OS X El Capitan bootable installer drive, we’ve got you covered, here it is embedded below for easy viewing:
If you have any questions, thoughts, or info about making an OS X El Capitan bootable installer drive, do let us know in the comments!
Source: How to Create a OS X El Capitan Boot Installer USB Flash Drive