How to Hide the Menu Bar on External Secondary Displays in OS X Mavericks

For Mac users who use external screens, multi-display support has been greatly improved in OS X Mavericks, but one feature that is either loved or hated is the addition of the secondary menu bar that is visible on the external display(s). The secondary menu bar serves the obvious purpose of providing easy access to menu items, but it also functions as an active focus indicator, letting you know which of the multiple displays has the currently active focus for windows and the mouse cursor. When one screen is active, the menu bar on that display will be shown at normal brightness, whereas the display that does not have focus will show a dimly faded translucent menu bar, as shown in this screen shot:

OS X provides a setting to hide the external display menu bar (or show it, if it’s hidden for some reason) if you don’t like it and the whole dimming indicator thing, though the wording of the setting doesn’t offer much hint that it has anything to do with menu bars or secondary screens.
Disable the Menu Bar on External Displays in OS X Mavericks
This will remove the menu bar from the external display completely, including the translucent display focus indicator:
- Open System Preferences from the Apple menu and choose the “Mission Control” preference panel
- Uncheck the box next to “Displays have separate Spaces”
- Log out and log back in to the user account for the change to take effect (or reboot, but logging out and back in is usually much faster)

Note: if you toggle this off you may wish to set the primary display again to indicate which screen you want the Mac menu bar and Dock to appear on. The primary display also becomes where new windows and alert dialogs appear by default.
Toggling “Displays have separate spaces” to OFF does not play well with full-screen app mode, thus if you like how Mavericks handles full screen apps on multiple displays, you will not want to turn this feature off. That’s a fairly significant side effect and it’s important to understand that this basically causes OS X Mavericks multi-display behavior to be like that of OS X Mountain Lion and other prior versions of Mac OS X. Yes, the secondary display is still entirely usable, so long as full screen apps are not used, since full screen apps become the “Spaces” this setting adjusts. Ideally, an update to OS X will separate the menu bar setting from the Spaces setting, into an optional and unrelated adjustment somewhere in Display preferences, similar to how you can indicate which display the menu bar shows up on.
There may be a defaults setting that can toggle the brightness and/or menu bar options separately, similar to how you can make terminal windows focus follow the mouse cursor, but we have not yet found it or been made aware of such a trick. If you know of one, send us an email, tweet, or post it on our Facebook or Google+ pages.
How do I Show the External Displays Menu Bar?
Some users may have turned off the external display menu bar inadvertently, since the wording of the setting does not offer any description of its effect on the menu bar displaying on secondary or primary monitors. To show the menu bar, you simply need to reverse the checkbox toggle for “Displays have separate Spaces” within the Mission Control preference panel, then log out and back in again. This will re-enable the menu bar on the secondary external display, returning back to its default behavior in OS X 10.9, and it will also provide the dim/bright menu bar focus indicator again, depending on where the mouse focus is.

6 of the Best Simple Tips for OS X Mavericks
OS X Mavericks is an excellent update for Mac users that has tons of great features, but even though the free update is aimed at power users with many advanced behind-the-scenes improvements, that doesn’t mean that all the tricks are complex. In fact, some of the best features new to Mavericks are some of the easiest to use, and we’re going to cover six of the absolute best simple tips you can start using right now.
Create an OS X Mavericks Installer Drive in 4 Simple Steps
OS X Mavericks is now available to everyone as a free download, and while you can update as many Macs as you want by downloading the installer repeatedly from the Mac App Store, a better option for many is to create a simple bootable USB install drive. We covered this some time ago using a fairly technical process, but Apple must have realized that method was overly complex for many users and has included a much simpler method to create OS X Mavericks install media. Users will still need to turn to the Terminal to finish the job, but this time around only a single command needs to be executed, making it much easier and faster than the manual approach. We will show you exactly how to create a Mavericks boot installer in four simple steps, even if you have no experience with the command line you’ll be able to do it.
15 ways to screw up an IT project
Paul Simon famously sang that there must be 50 ways to leave your lover. Similar could be said (if not sung) regarding projects: There must be 50 ways to screw up your IT projects. Indeed, ask IT executives and project management experts, as CIO.com did, and they will rattle off dozens of reasons why projects go astray. For the sake of brevity, however, we are starting with the top 15 ways to derail a project--and how to avoid these project management pitfalls.
OS X Mavericks vs Windows 8.1: Which OS is Best?
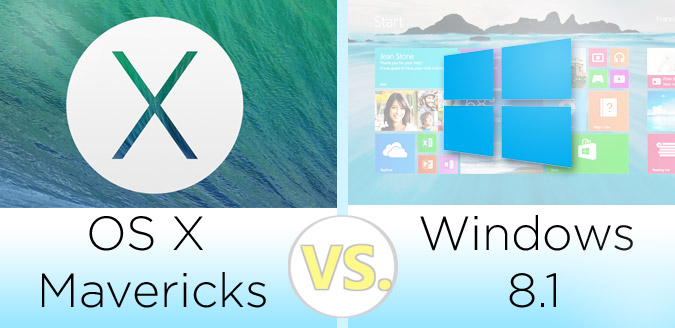
The war between Windows and Mac has reached a new phase with Windows 8.1 and OS X Mavericks. While you could call the new Windows a course correction–with the re-introduction of a Start button and the ability to boot straight to the desktop–Microsoft is still very much on the path of converging laptops and tablets. Meanwhile, Apple largely stays the course with OS X Mavericks, embracing existing Mac owners and would-be switchers with time-saving features like Finder Tabs. At the same time, Mavericks continues to borrow features from iOS, including the new Maps and iBooks app.
802.11ac Wi-Fi Explained – What Is It & Why It’s Cool
At Apple’s latest WWDC, we heard them announced the new OS X Mavericks and iOS 7, but what some might have missed is their new MacBook Air with 802.11ac Wi-Fi. If you don’t already know, Wi-Fi has a few standards, 802.11a/b/g/n. The latest and greatest is 802.11ac which is supposed to be much faster than 802.11n, currently the best on the market. What inspired this great naming sequence, we have no idea.
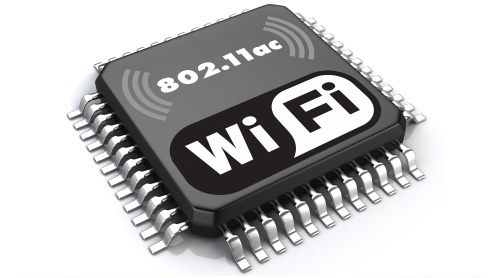
But we are here to explain what 802.11ac means. Other than speed, there are a few new technological breakthroughs that 802.11ac can accomplished.
iOS 7 Beta 3 Download is Now Available
The third beta of iOS 7 has been released by Apple for supported iPhone, iPad, and iPod touch models. The beta arrives as build 11A4414e and is expected to include many bug fixes and improvements, as it further pushes iOS 7 to it’s anticipated public release later this year.
Download iOS 7 Beta 3 from OTA
Those running iOS 7 beta 2 can download the new beta directly from Over-The-Air updates:
- From Settings, visit “General” then go to “Software Update” to find the new version
Tapping “Download and Install” begins the update process. OTA update remains the easiest way to get the latest beta versions of iOS 7, as the update arrives in delta format making it a smaller download that is then installed directly on the device.
Installing through Software Update can sometimes hang for a while on the “Preparing Update…” stage, so don’t be surprised if it takes much longer to prepare the update than it does to download. The iPhone, iPad, or iPod touch will reboot itself when the update is completed.
iOS 7 Beta 3 Direct Download Links for iPhone, iPad, iPod touch
Users who are interested in performing a clean install of iOS 7 beta 3 can download firmware contained on a disk image for compatible devices directly from Apple’s Developer Center (dev login required), then use the IPSW to update directly from iTunes:
- iPad (4th generation Model A1458)
- iPad (4th generation Model A1459)
- iPad (4th generation Model A1460)
- iPad mini (Model A1432)
- iPad mini (Model A1454)
- iPad mini (Model A1455)
- iPad Wi Fi (3rd generation)
- iPad Wi Fi + Cellular (model for ATT)
- iPad Wi Fi + Cellular (model for Verizon)
- iPad 2 Wi Fi (Rev A)
- iPad 2 Wi Fi
- iPad 2 Wi Fi + 3G (GSM)
- iPad 2 Wi Fi + 3G (CDMA)
- iPhone 5 (Model A1428)
- iPhone 5 (Model A1429)
- iPhone 4S
- iPhone 4 (GSM Rev A)
- iPhone 4 (GSM)
- iPhone 4 (CDMA)
- iPod touch (5th generation)
iOS 7 beta software is intended for use on developer devices and not for everyday usage. Nonetheless, if you wish to experiment with the beta, it remains very simple to downgrade from the beta back to stable iOS 6 builds in the event it’s needed.
Alongside the iOS 7b3 is a new development release of Xcode 5, versioned as Developer Preview 3, which is also accessible from Apple’s developer portal. An update to OS X Mavericks is expected to arrive shortly.